
Clifden Caves New Zealand | See Glow Worms in the South Island
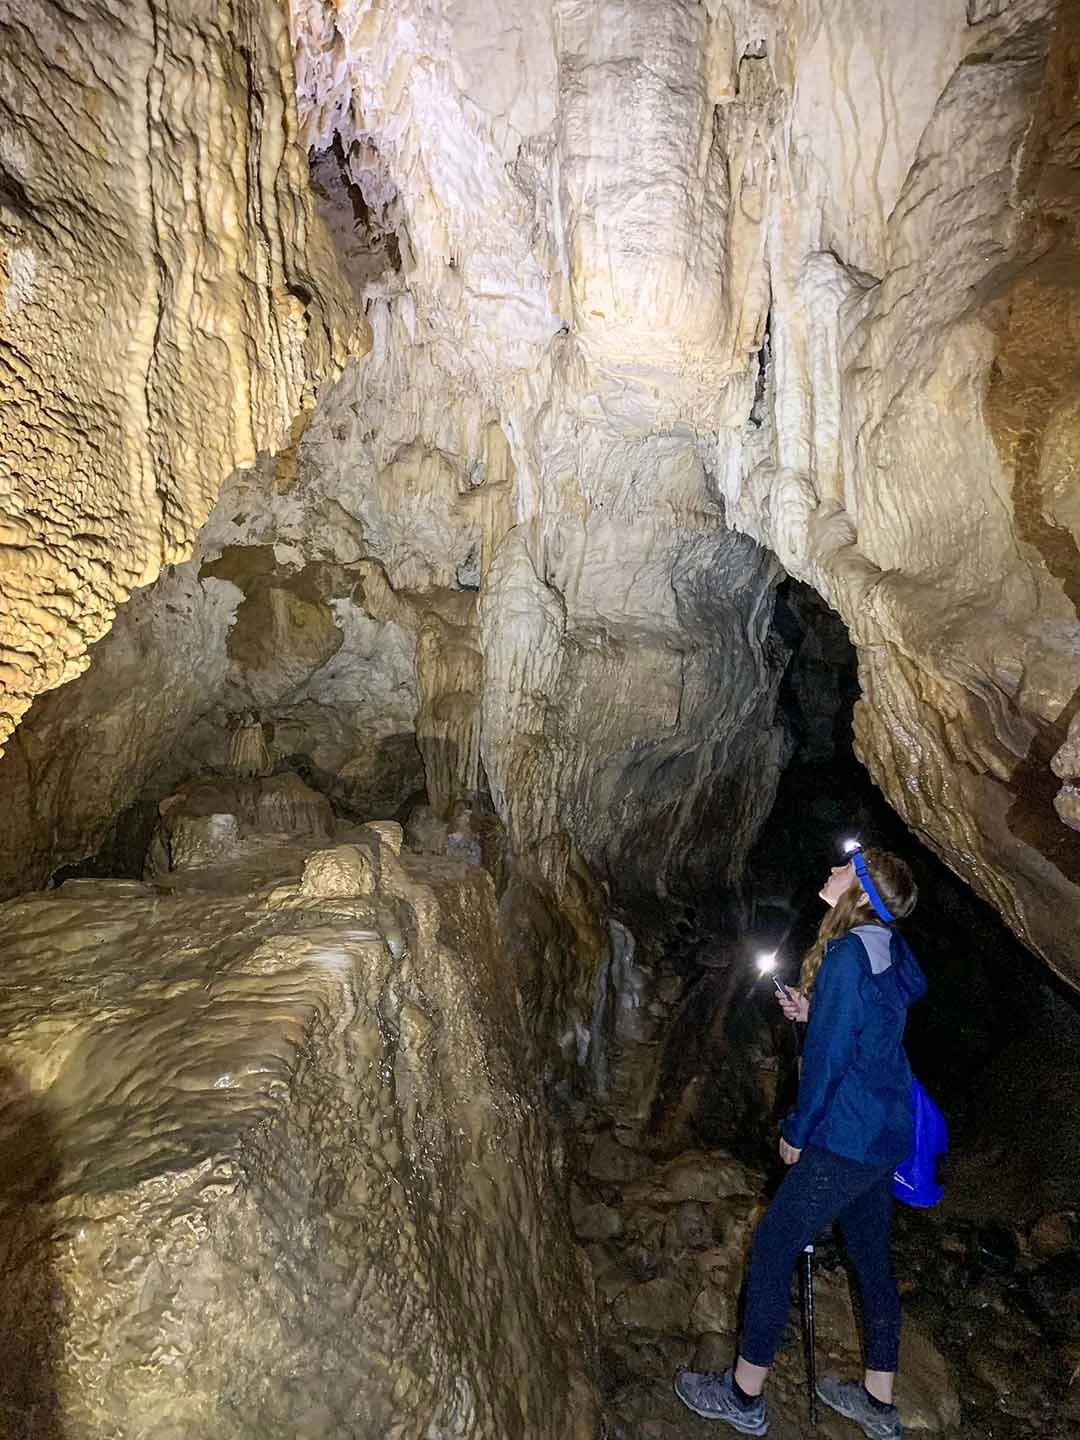
Looking at the stalactites and limestone rock formations above us.
One of the best places to see glow worms in the South Island of New Zealand is inside the Clifden Caves. Crouch down through tight spaces, cross an underground swimming pool, climb ladders and see stalactites and other limestone formations. This is a free, self guided caving experience suitable for those 12 years or older.
In This Trail Guide:
Clifden Caves Map

Image sourced from DOC
| Difficulty | Hard |
| Distance | 1 kilometer |
| Trail Type | Loop |
| Elevation Gain | 10 meters |
| Time | 1 hour 20 minutes |
| Family Friendliness | ★☆☆☆☆ |
| Pram Access | No |
| Dog Access | No |
| Trailhead Coordinates | 46°01'06.0"S 167°44'28.0"E |
Note: Completing the full cave system is only recommended for children 12 years of age and older. All ages can safely complete the short 10 minute walk from the Upper entrance to the Lower entrance.Before You Go: Safety Tips
Do not enter during or after heavy rain, this cave is prone to flash flooding. View the Clifden weather forecast.
Bring a minimum of 2 torches per person and spare batteries. Using both a head torch and handheld flashlight is recommended.
While underground the air is quite cold and wet - don't wear cotton, bring rain jackets and moisture wicking layers.
Bring helmets, stalactites and low ceilings really hurt to bump your head on!
Hiking poles stabilize you and allow you to feel out the bottom of cloudy pools of water before stepping in.
Take care to stay on the marked route, the unmarked route requires ropes and climbing equipment to navigate.
Only those with a high level of fitness should enter the Clifden Cave System as there are many narrow passages and areas to navigate.
DOC suggests that only children 12 years or older should attempt the full cave system. We agree, but think the 10 minute walk from the Upper to Lower Clifden Cave entrance is suitable for all ages.
Exploring Clifden Caves
You’d have no idea this cave system existed if it weren’t for the signs telling you so, because it’s hidden underneath farm land alongside the highway. A small yellow sign stating “Limestone Caves” points you to the entrance. Be sure to read the sign, take a picture of the map and check the Clifden rain forecast before heading inside. Check out my full list of safety tips above too. Over the fence and into the rocks you go!


It took us just under an hour and a half to travel from the Upper Clifden Cave entrance to the exit at the southern end. Those looking for a shorter adventure have two options: walk from the Upper entrance to the Lower entrance (10min total) or start at the Lower entrance and walk to the southern cave exit (10min shorter). Since this caving adventure isn’t recommended for kids under the age of 12, walking the section from upper to lower entrance is a great option for younger kids. You may also walk in as far as you feel comfortable, then turn back the way you came.

Looking back at the daylight one last time before leaving the upper cave entrance.
Early on, there’s one really tight squeeze that deters many from moving forward. Specifically, physically larger or claustrophobic people. I assure you though, this is about as difficult and tight as it gets throughout the entire route. You’ll carefully lower yourself down through the hole in the rocks using both your hands and feet. Muddy bums here we come! Right after this, the cave opens right up and is very spacious.


Inside the cave it’s very cool and damp. We went in the middle of summer, but even then jackets and long pants were definitely needed. Water constantly drips from the ceiling and towards the end there are unavoidable sections where you must wade through water. It’s also quite slippery in some areas, which may require you to fully sit on the ground and scoot down the steep rocks. Crawling on your hands and knees is sometimes necessary too.


Limestone caves form when acidic groundwater seeps through the cracks in rocks and dissolves the calcium carbonate in the limestone (limestone rocks contain high levels of calcium carbonate). So over a long period of time, this creates passageways and unique formations that eventually expand into large cave systems. The constant dripping of water leads to the creation of stalactites, the hard and pointy rocks that look as if they’re dripping from the ceiling. They really hurt to bump your head on, trust me, I know from experience…


A signature from 1885!
Fun fact: The Clifden Cave system was formed 18 to 22 million years ago during the Miocene time! We saw one name signed high up on the cave walls from the late 1800’s and numerous from the early 1900’s. The names are written so high up, it makes me wonder if the cave floor used to be higher! The old names were neat to see but I absolutely do not support writing names or any form of graffiti on the cave walls. Leave it the way you found it!
About halfway through, turn off all the lights and check out the pure darkness that surrounds you. Give your eyes a minute to adjust to the darkness and you might even see tiny specks of blue light above you. These are glow worms, also known as Titiwai (arachnocampa luminosa). Glow worms thrive in the cool, dark, damp and wind free environment that the cave provides. Their glow attracts their prey, which get caught in the sticky silk like threads hanging down from the ceilings.

Sticky threads made by glow worms (Titiwai) hanging down from their nest. In pure darkness, you might see tiny blue lights, those are the glow worms.
About an hour into exploring the cave at a very leisurely pace, stopping for many photos along the way, we eventually arrived at the infamous swimming pool. I dreaded this section and knew it was going to be difficult to navigate without falling in. We put all our electronics and keys into a plastic bag inside the backpack just in case. You can turn around at this point if you don’t want to cross it and risk getting wet, or you can go through and reach the cave exit in 5 minutes.


There are a few small manhole shaped pools just before the big swimming pool, and they look very deep. We poked our hiking sticks as far down as we could and still didn’t touch the bottom… yikes! There’s very little room to stand and not much to grab hold onto with your hands here either. Thankfully we read Alice’s blog post ahead of time and learned about the underwater ledge around the left side of the pool. I successfully made it around the pool by turning my belly towards the wall, grabbing hold of any ridges that I could and stepping out sideways onto the ledge.


I highly recommend bringing hiking poles with you, because it helped us find our balance in tricky areas like this. They were also helpful to navigate cloudy waters that you couldn’t see the bottom of. Immediately after passing the swimming pool, go up the tall red ladder to continue towards the exit. It felt sturdy but with wet shoes I held on very tightly in case I slipped up.


The echoing sound of rushing water will fill the cave near the third ladder. Experienced cavers with ropes and equipment can take an additional path to the right where the water is, but everyone else should just stay left and go up the ladder.


After the final ladder (there’s 3 total), the exit is just a minute or two away. Your first glimpse of daylight after a whole kilometer of walking underground should feel like a huge accomplishment! Similar to the way you entered the cave, you’ll emerge from a hidden hole in a grassy farm paddock. Follow the stamped down grass path along the fence, cross over the stile and follow the road back to the car park, which you’ll reach in approximately 2-3 minutes. Hard to believe a 2 minute walk equates to the hour or longer journey you just completed!

Seeing daylight for the first time after spending over an hour underground.

The cave exit is that black hole under the bushes to the left. Go right and follow the road back to your car.
Frequently Asked Questions
-
DOC recommends only kids 12 years or older to complete the full cave system. The short 10 minute walk from the Upper Clifden Cave entrance to the Lower Clifden Cave entrance is great for all ages though.
-
It’s highly likely that you’ll get your feet wet if you complete the entire cave system. After periods of rain, you may have to wade through ankle deep water. There is also a swimming pool that many people fall into on accident.
-
Yes, you can see glow worms (Titiwai) in the Clifden Cave System located in Southland. Turn off all lights about halfway through the walk and look up towards the ceiling. Tiny blue tinged dots of light will line the rocks above you.
How to Get to Clifden Caves
The Clifden Cave System is located along the Clifden Gorge Road just 5 minutes North of Clifden. From Invercargill, it’s a 1 hour drive starting on State Hwy 99 towards Riverton. Take Gropers Bush-Thornbury Road towards Otautau, turn left onto Otautau-Tuatapere Rd and finally turn right onto Clifden Gorge Road. Parking for the caves is just a gravel pullout beside farmland about 1km further. Look out for a yellow sign stating “limestone caves.”
Other Things To Do Near Clifden

Image Source: Heritage NZ | DOC
Clifden Suspension Bridge: A historic bridge offering a small picnic and freedom camping area in front of the Waiau River.
Tuatapere Big Totara Walk: Approximately 30 minute return walk through forest taking you to some of the tallest totara trees in Southland.
Lake Hauroko: Walking tracks, fishing and kayaking opportunities. Do the Lake Hauroko Bush Walk (40 min), Lake Hauroko Lookout Track (4 hrs) or tramp to Lake Manapouri on the Dusky Track (8-10 days).
Disclaimer: Please adventure at your own risk. The author of this article is not liable for any injuries or damage that may occur. It is up to the individual to determine their own capabilities and limits, and to thoroughly research before venturing into the great outdoors. Read our full Disclaimer.


